
If your shower is leaking, dripping, or not delivering the right water pressure or temperature, the culprit may be a faulty shower valve stem. This small yet critical component regulates the flow and mix of hot and cold water in your shower. Over time, wear and tear can cause the valve stem to malfunction, leading to leaks and other issues. While some repairs can be done with the right tools and know-how, it’s important to know when to call in the professionals at L&M Plumbing to avoid costly damage.
Here’s a guide to help you understand how to repair a shower valve stem and when it’s time to get expert help.
What is a Shower Valve Stem?
The shower valve stem is part of the faucet mechanism inside your shower wall. It’s responsible for controlling the flow of water from both hot and cold lines. Depending on the type of shower you have, the valve may also mix the water to ensure you get the desired temperature.
Over time, the valve stem’s seals and internal components can wear out, leading to issues like:
- A constantly dripping showerhead
- Difficulty adjusting water temperature
- Low water pressure
- Water that won’t fully shut off
These problems not only waste water, but also may increase your utility bills.
Step-by-Step Guide to Repairing a Shower Valve Stem
Step 1: Shut Off the Water Supply
Before starting any plumbing repair, turn off the water supply to the shower. You can either shut off the main water supply to your house or locate a shut-off valve near your bathroom. Turn on the shower to release any remaining water pressure.
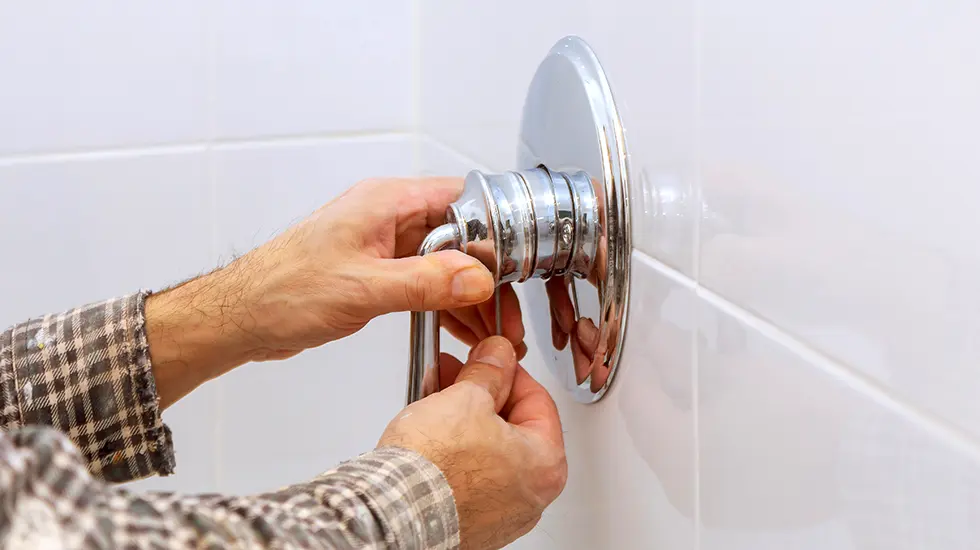
Step 2: Remove the Handle
The shower handle must be removed to access the valve stem. This typically involves:
- Unscrewing the handle cap (usually located in the center of the handle).
- Using a screwdriver to remove the handle screw.
- Pulling off the handle.
If the handle is stuck due to corrosion, you may need a handle puller tool. Be careful not to force the handle off, as this can cause damage. If you’re unsure, L&M Plumbing can handle this safely and efficiently.
Step 3: Access the Valve Stem
Once the handle is removed, you’ll see a trim plate and possibly an escutcheon (the decorative cover). Remove these parts to expose the valve stem.
- Use a wrench to unscrew the valve stem from the faucet body.
- Take note of how the valve stem is installed so you can replace it correctly later.
Step 4: Inspect the Valve Stem
Check the valve stem for signs of wear, such as:
- Worn or cracked rubber washers
- Damaged O-rings
- Corroded metal parts
In most cases, replacing the washers and O-rings can resolve leaks. However, if the entire stem is corroded or damaged, you’ll need to replace it with a new one.
It’s very important to use the correct parts for your existing shower installation. If you’re not sure which replacement parts to use or how to install them, contact L&M Plumbing at (610) 756-3069 for expert advice and service.
Step 5: Reassemble the Shower Faucet
Once the valve stem is repaired or replaced:
- Reinstall the valve stem and tighten it with a wrench.
- Reattach the trim plate and handle.
- Turn the water supply back on and test the shower to ensure the leak is fixed and the water flows properly.
When to Call a Professional
While repairing a shower valve stem may seem straightforward, there are several situations where professional help is recommended:
- If you’re dealing with significant corrosion or damage to the valve stem.
- If you’re unsure how to safely remove or reinstall the valve.
- If the leak persists even after replacing washers and O-rings.
- If the shower valve is part of an older plumbing system that may require additional repairs or replacements.
A botched valve repair can lead to leaks behind the wall, causing water damage and mold growth. Rather than risking further issues, let the professionals at L&M Plumbing take care of it. We have the tools and expertise to get your shower working perfectly again. Call us at (610) 756-3069 today!